Build An LED Metro/Tram Arrival display
01 Mar 2020 . . Comments
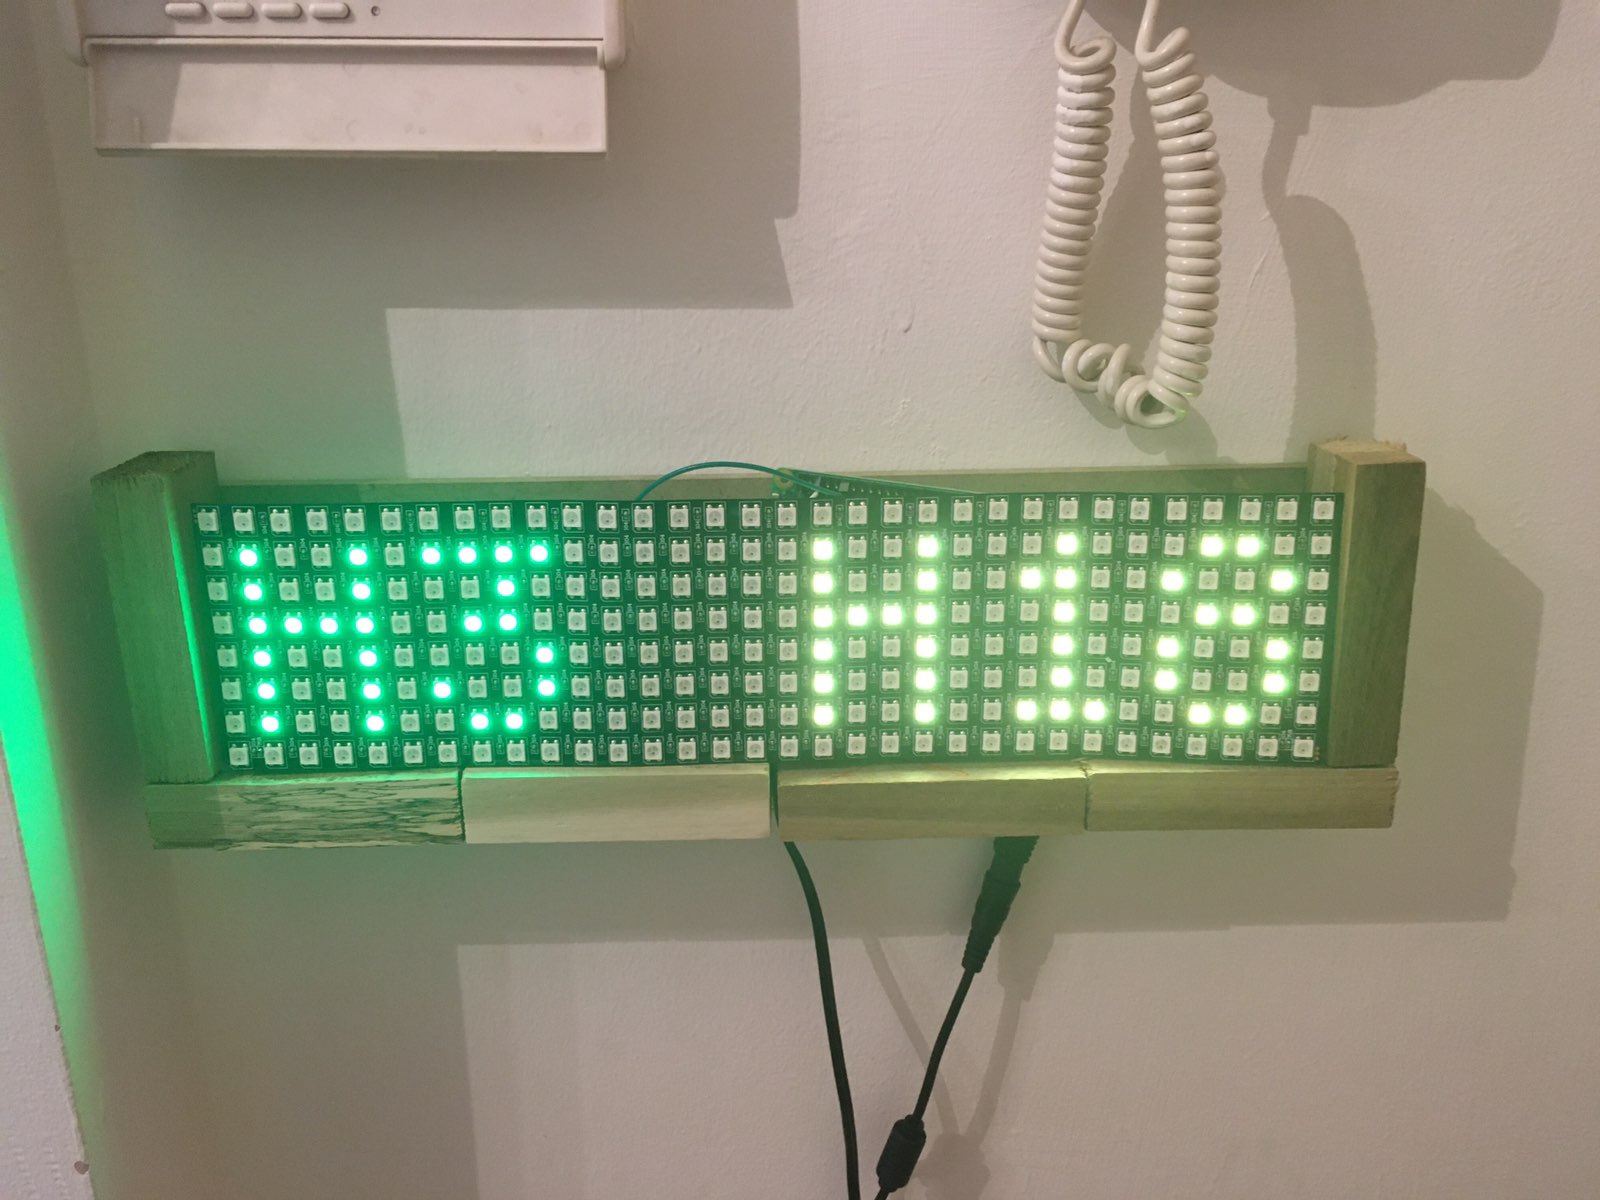
 I live in Dublin right beside the LUAS tram, so I built my own tram stop display for my home in a couple hours for around $90. Above is a display of the LUAS tram times in Dublin. H stands for destination/direction, Heuston station, and the time until arrival is beside it.
In this article, I’ll go into detail on where to buy the stuff and how to code up the solution.
Buying the Items
- 8x32 LED Light ($30-$45/£35) - all US/EU/UK available
- Raspberry Pi 3 ($20-40/£19)
- 5V 2A Power Supply - this is also handy for other projects, but you may already have power of this kind
- Wires to connect Pi to LED - You may need a wire or two to hook up the raspberry pi to the LED.
- (optional) Breadboard for testing connections and power - You won't really need the breadboard or the entire kit - but if you want to test connections or check things this is useful and this comes with the wires needed above
Total: £70 ($90)
I took advantage what I already had and only paid for the LED and the wires.
Implementing the LED Display
After searching for hours online, I found this article to work perfectly for starting out with LEDs. It covers the setup with the products listed above. Simply match your red wire to the positive symbol on your adapter head and black to the negative, and screw them tight.
For your display to Raspberry PI, put the digital in cord into the 6th pin of your Raspberry pi as seen in the article and the GND in into the 3rd pin (see diagram in article).
Then once all your wiring is hooked up, boot up your pi. Your PI should be accessible via SSH & WIFI - set it up here (ssh and wifi)
Once your PI is accessible, ssh into it via your shell (i.e Terminal on Mac). Then, finish installing all the python dependencies listed in the tutorial above and run the LED.
Your LED should start to light up when you finish the tutorial.
Implementing the API and Displaying Text
The Dublin LUAS has a public XML api that gives me these times from a specific stop, so implementing the data part is relatively easy. However, the most difficult part I had was getting the LED text to work.
There wasn’t really a compatible text to LED system in place so I had to refactor someone elses code to work with this LED. I combined the tutorial code above with some text to LED code I found.
I ended up with this inside my python folder:
https://github.com/evanjmg/led-to-text-display
Simply clone this repo and replace it with your python folder and you should start getting LUAS times by running:
sudo PYTHONPATH=".:build/lib.linux-armv7l-2.7" python examples/strandtest.py
Change the standtest.py file to implement your own solution note my LUAS api calls are here:
https://github.com/evanjmg/led-to-text-display/blob/master/examples/strandtest.py#L120
I left the other LED configurations in there for testing purposes, note different brightness is required for the text displays.
Building A Frame
I put together a frame with some wood that was around house. I am an amateur at all things electrical and carpentry, so don’t take my advice on this and find skilled carpenter or do some googling. I just cut out a wood piece that matched and grabbed some nails if you have any tips on how to make it look nice please leave a comment below.
What I struggled With
Text definitely was the most difficult part. Every LED is configured differently so the math on how they display things is different! In other words, the pixels run different directions depending how they are arranged.
See my github issue here for more information: https://github.com/jwalanta/whiterabbit/issues/1
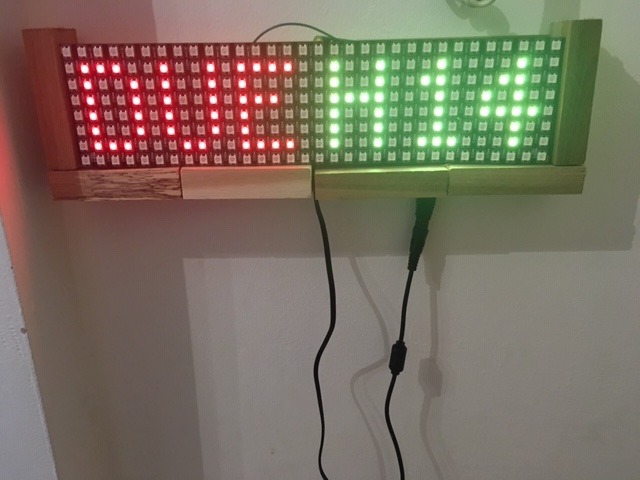
Once I got the math right, it was a matter of coloring the text to give context of when things are due etc. See example here:

I really enjoyed building this and it has definitely come in handy. If you come up with your own solutions, please share it in the comments.
Thank you!