Matrixifying the Web: A Simple Chrome Extension Tutorial
08 Apr 2018 . . Comments
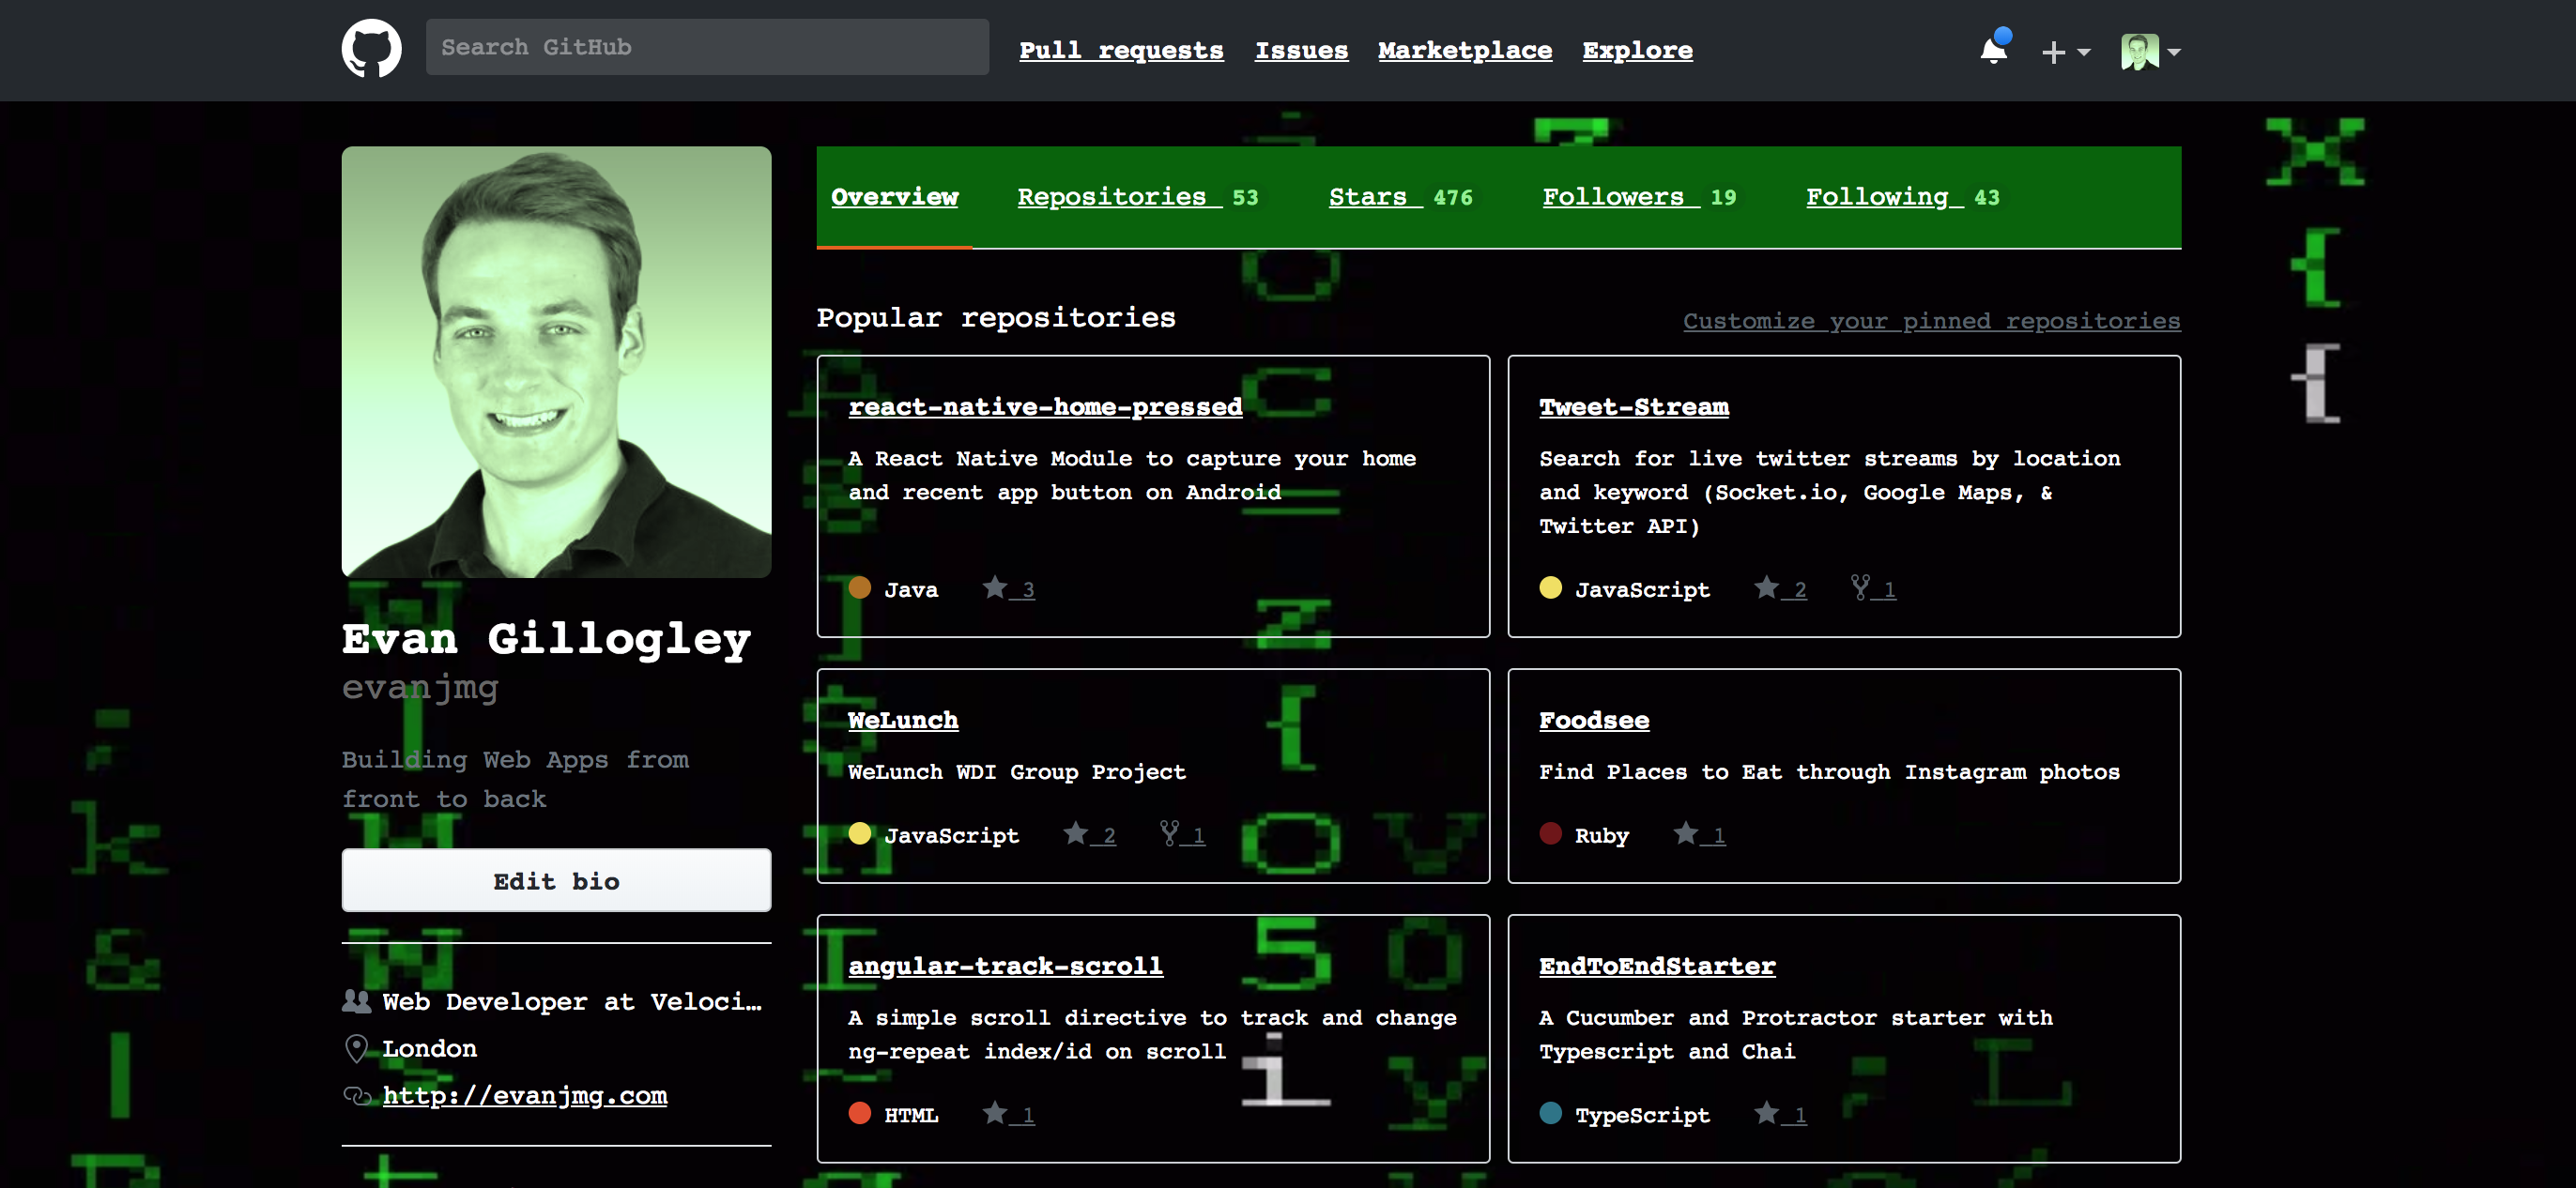
Chrome extensions are really easy to create, but I found it really hard to learn how to create them. The documentation on Google’s site is convoluted and too thorough - there are popups, content scripts, background scripts etc. All I wanted to do was to manipulate the webpage in the browser like add a sidebar to a website or change it’s theme. In this tutorial, I’m going to matrixify github profile by inverting the colors and adding some cool gifs and animations.
I just want to create something like this (Source Code):
Configuration
Everything in a chrome extension is configured in a manifest json. To inject scripts, we want to either use “web_accessible_resources” or “content_scripts” and we just create javascript or css files to be run on launch of the extension.
Below I have a simple example of this:
{
  "name": "Matrixify Extension",
  "version": "0.1.0",
  "manifest_version": 2,
  "content_scripts": [
    {
      "matches": ["https://github.com/*"],
      "css": ["mystyle.css"],
      "js": ["myscript.js"]
    }
  ],
  "browser_action": {
    "default_title": "Matrixify"
  }
}
Matches implicitly sets the permissions this script/css will run on. The others are just telling Chrome to run the required css and javascript. Version and manifest version are required.
Matrixifying CSS
To redesign our github website, I’ll just change some colors and hues in mystyle.css:
body {
  background: url('https://github.com/evanjmg/matrix-simple-chrome-extension/raw/master/giphy.gif') !important;

  background-size: cover !important;
  color: white !important;
  font-family: Courier !important;
}
.UnderlineNav,
.pagehead {
  background-color: darkgreen !important;
}
.Counter {
  color: lightgreen !important;
}
p,
a,
p.text-gray {
  color: white !important;
}
a {
  text-decoration: underline !important;
}
img.avatar {
  filter: sepia(100%) hue-rotate(60deg) !important;
}
With the content scripts, the css is automatically injected on any page that I go to when my extension is active. So in this file, I’m using !important to override the css (don’t normally do this when building websites - this is for example purposes only). You’ll notice that the background: url has a github sourced url. With injecting scripts, it is incredibly difficult to deal with security constraints. You’ll always have to either override the content security headers or just abide by them by either uploading your script or content (image, website, etc) directly onto the site or writing some clever javascript.
If you go to the chrome dev tools console, you’ll also see that I’m running a console log. I’m running this with the following:
// myscript.js
console.log("************** YOU'VE BEEN MATRIFIED****************")
// access dom here - example hide all images
// document.querySelector('img').style.display = 'none'
This is all pretty static, but if you want to make your extension respond to actions outside of the DOM and in the extension. You’ll need to use a background.js and add it to the manifest json like so..
{
  "name": "Matrixify Extension",
  "version": "0.1.0",
  "manifest_version": 2,
  "content_scripts": [
    {
      "matches": ["https://github.com/*"],
      "css": ["mystyle.css"],
      "js": ["myscript.js"]
    }
  ],
  "background": {
    "scripts": [
      "background.js"
    ],
    "persistent": true
  },
  "browser_action": {
    "default_title": "Matrixify"
  }
}
And in order to detect the clicks on the chrome extension you have to do the following:
chrome.browserAction.onClicked.addListener(tab => {
  // for the current tab, inject the "inject.js" file & execute it
  chrome.tabs.executeScript(tab.id, {
    file: 'myscript.js'
  })
})
Now with onClick and executeScript, the previous console log statement will be called every time I click the extension icon.
Packaging and Development
For packaging, I recoomend Google Chrome tools in the browser and webpack. Webpack will minify and bundle all your files and assets to make them readable in the browser. A good simple example of the webpack implementation you can find here: https://github.com/segmentio/chrome-sidebar/tree/master/examples/github-trending
When you want to package and view your extension, I recommend just going to chrome://extensions and enabling development mode. Then click ‘load unpacked’ and your extension should load. If it has errors, chrome will notify you. If there are javascript errors, please check the affected webpage console where your script is run. When you want to zip up your extension to share with others, simply click ‘pack extension’ (no need for a pem unless you are putting it on the extension store).
Get Started on your own!
There are lots of other ways to create powerful chrome extensions. This is only one of few practical applications of chrome extensions. If you want to add an iframe sidebar to a website then I recommend Segment.io’s open source Chrome sidebar It uses a background.js script to inject a sidebar into the DOM which you can interact with. After this introduction, it may a be lot easier to go back through google’s documentation. However, if you need any help with yours comment below and look the source code.
Source code: Github Repo for Matrixifying